
Luminar Neo for Lightroom: My Finishing Workflow Explained
I start my edits in Lightroom, then use Luminar Neo for the finishing touches. That might mean a softer glow, a small colour adjustment or a little more separation between the subject and background.
Disclosure: This article contains affiliate links. I may earn a commission if you buy through them, which helps support Digisnapsss. The workflow and opinions are my own.
This workflow uses the desktop version of Lightroom Classic.
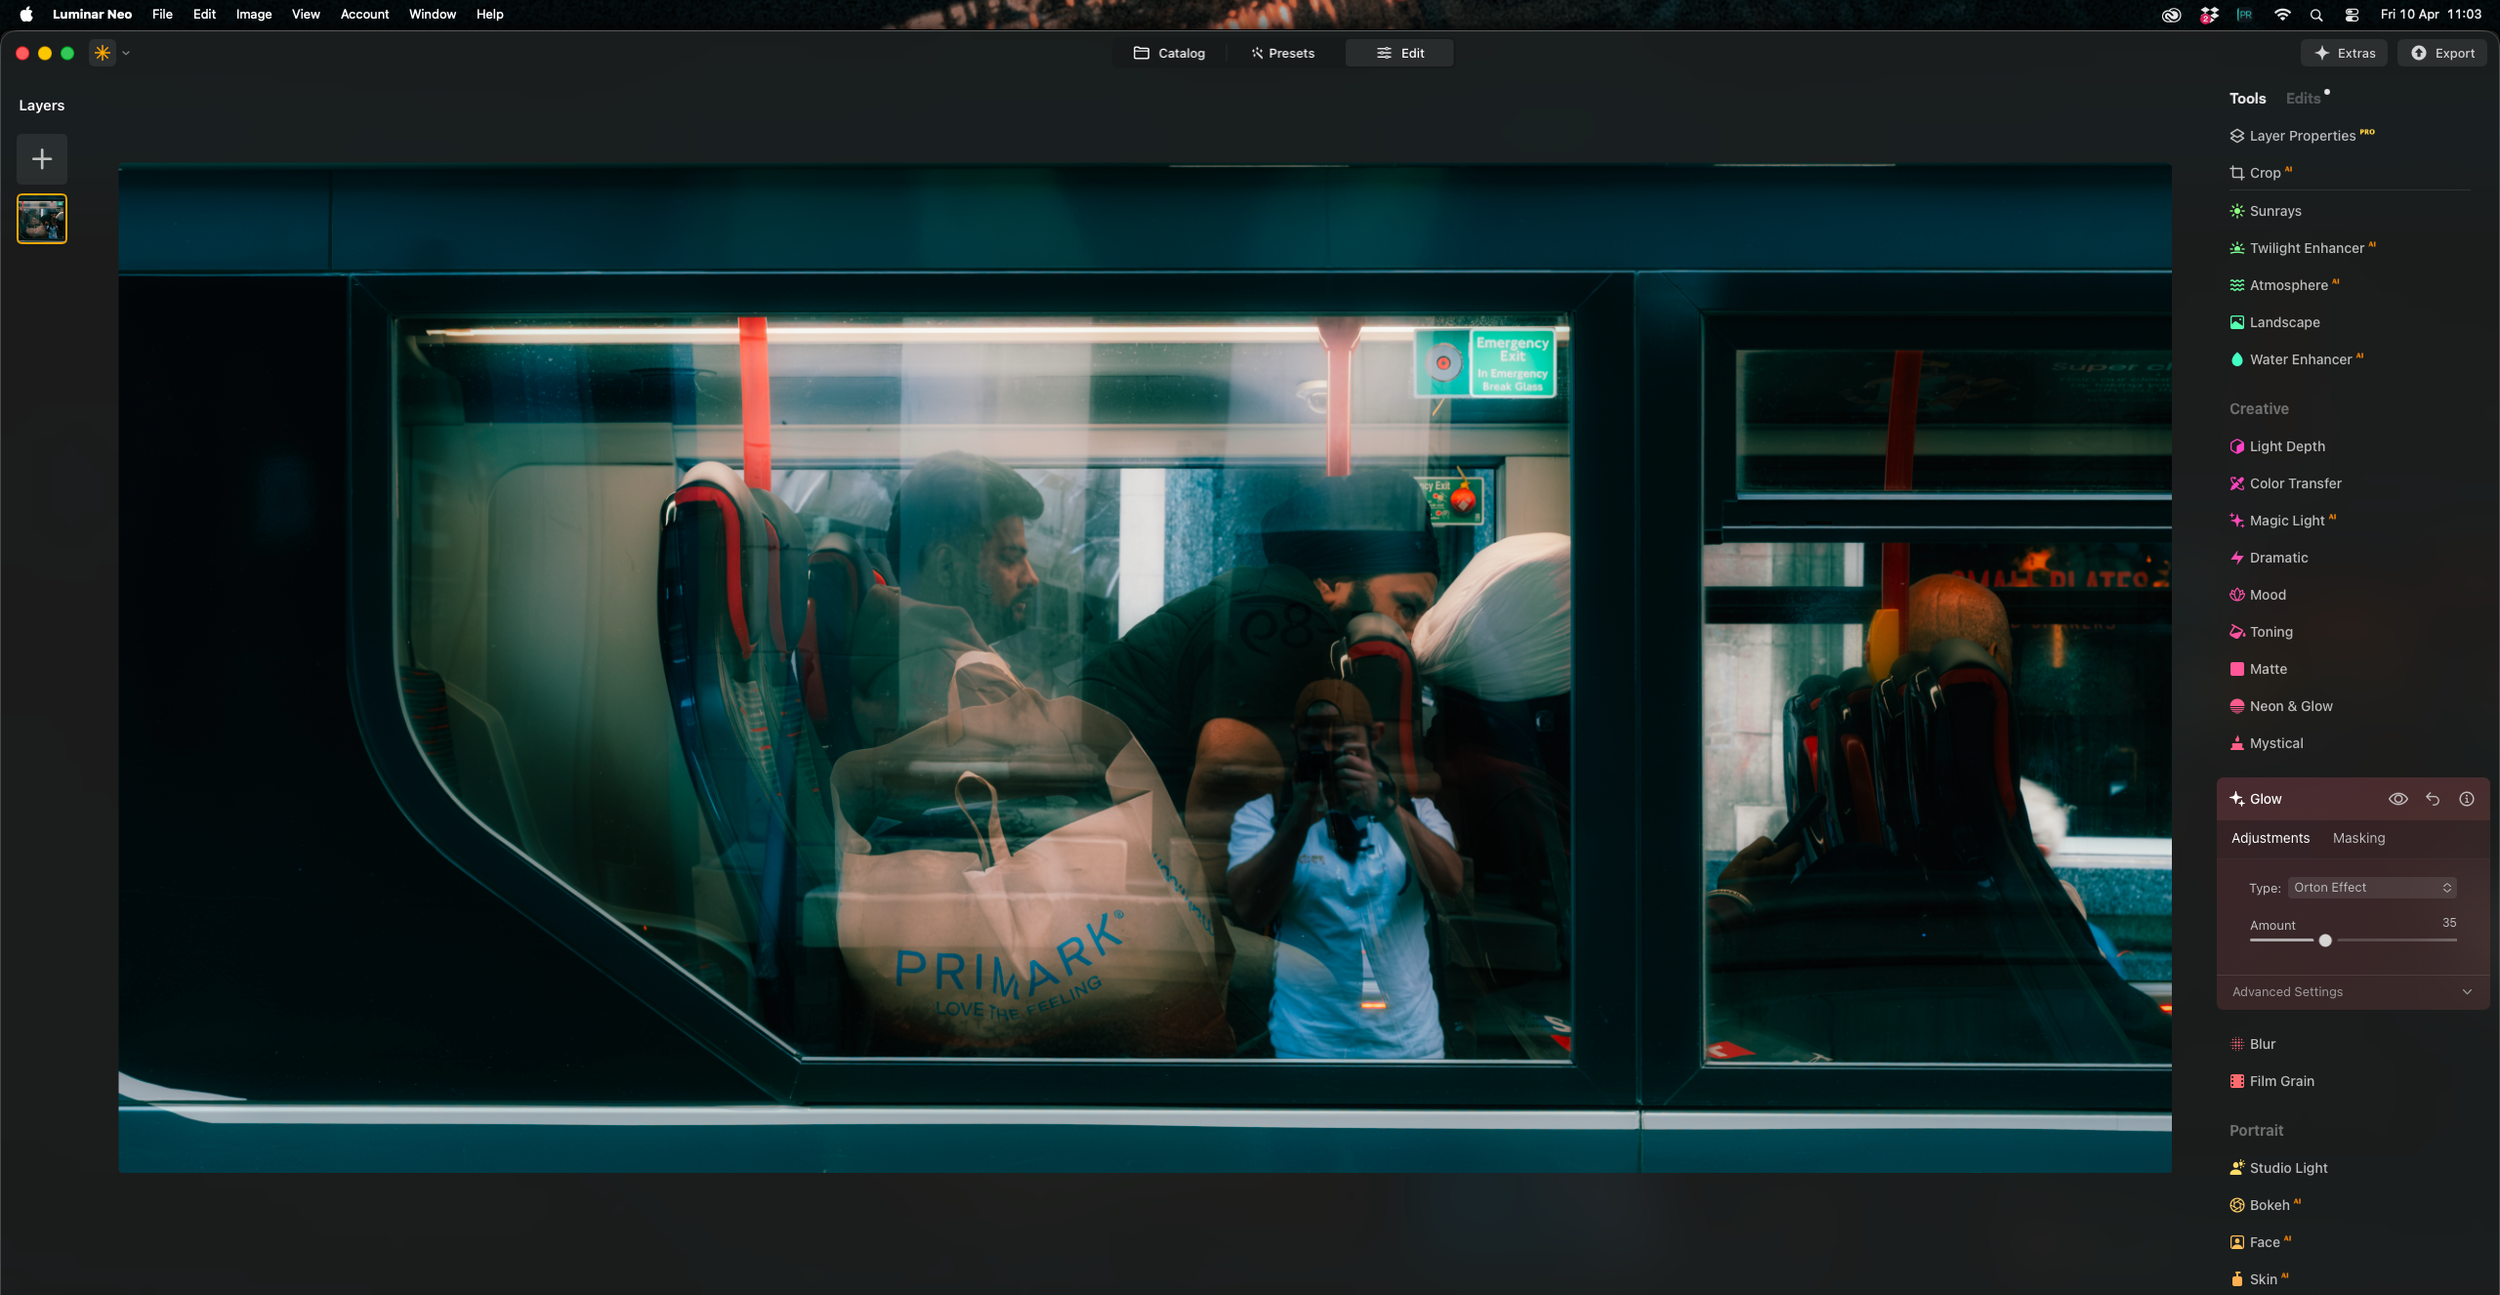
How I use Luminar Neo to finish my Lightroom edits
I use the two programs at different stages of an edit. Lightroom is where I make the main adjustments, then I move to Luminar Neo when I want to add something to the atmosphere of the photograph.
Starting in Lightroom
Lightroom Classic is still where every image starts for me. I adjust exposure, white balance, colour and contrast, and work on the overall look.
I want to be happy with that base edit before opening another program. If something needs correcting, I go back and deal with it in Lightroom first.
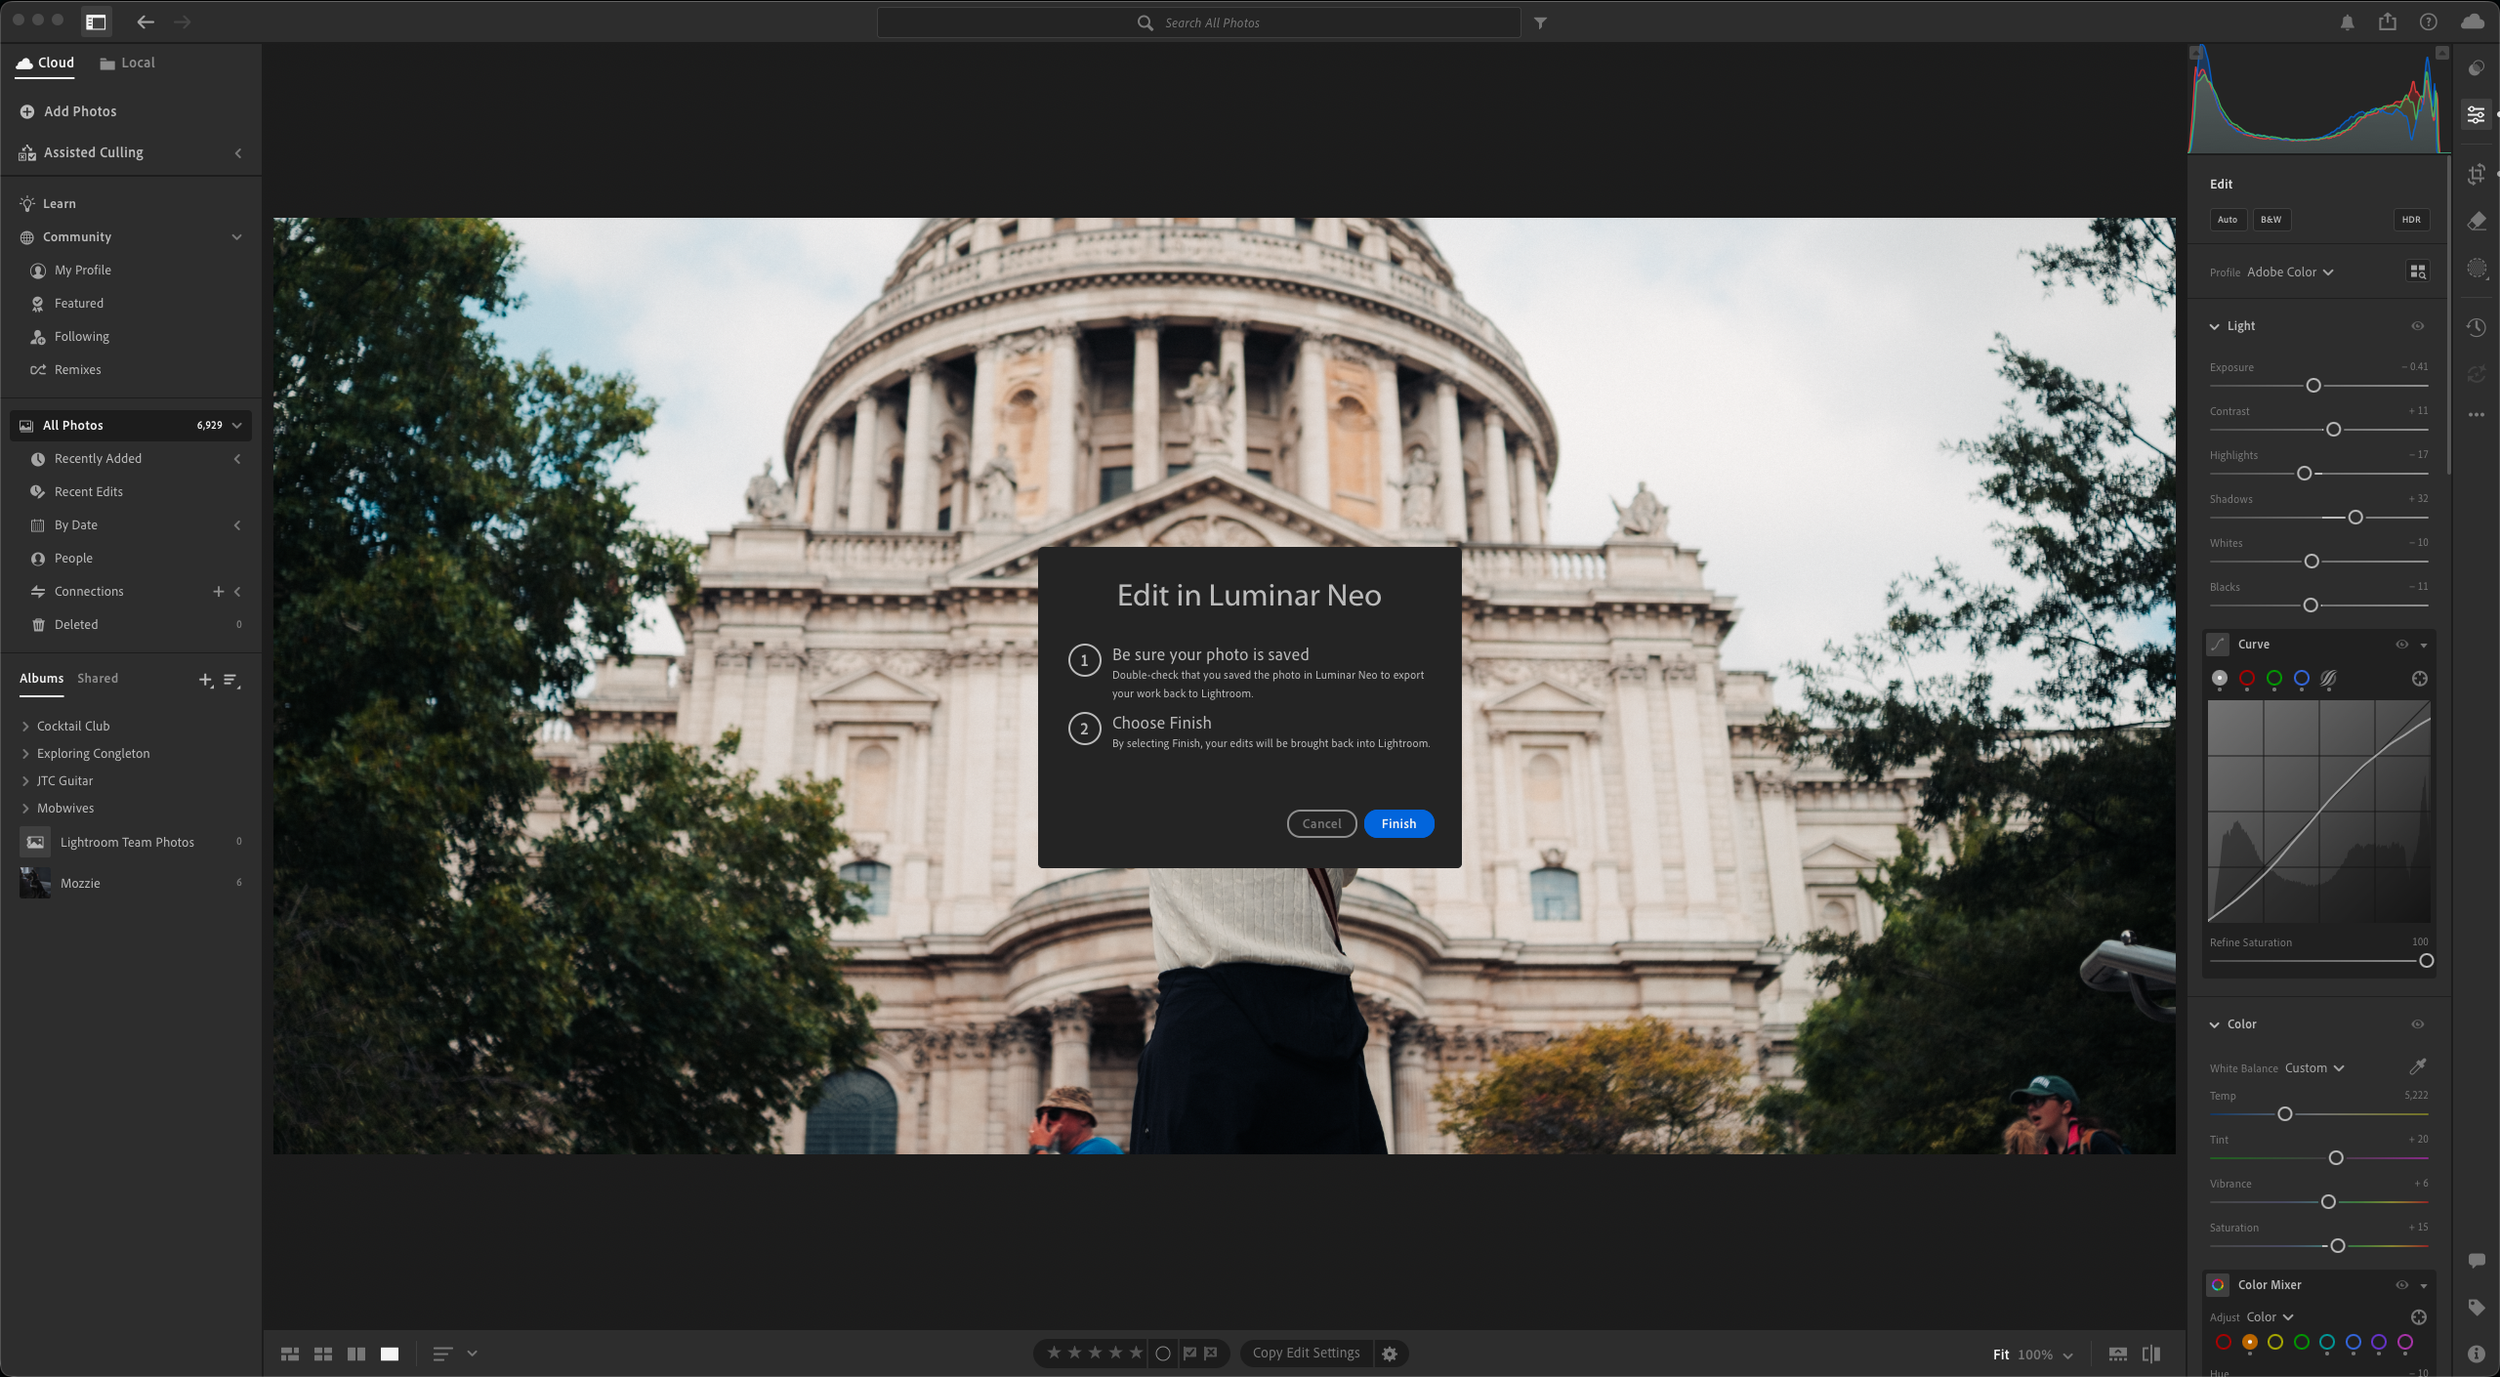
Separating the base edit from the finishing touches
Thinking of the edit in two stages helps me decide what to do next. Once the exposure and colour are where I want them, I can look at whether the photograph needs a softer glow or a little more depth.
Where Luminar Neo fits in
In this workflow, I use Luminar Neo after the main corrections. I’m working on an image I already like and adding the finishing adjustments.
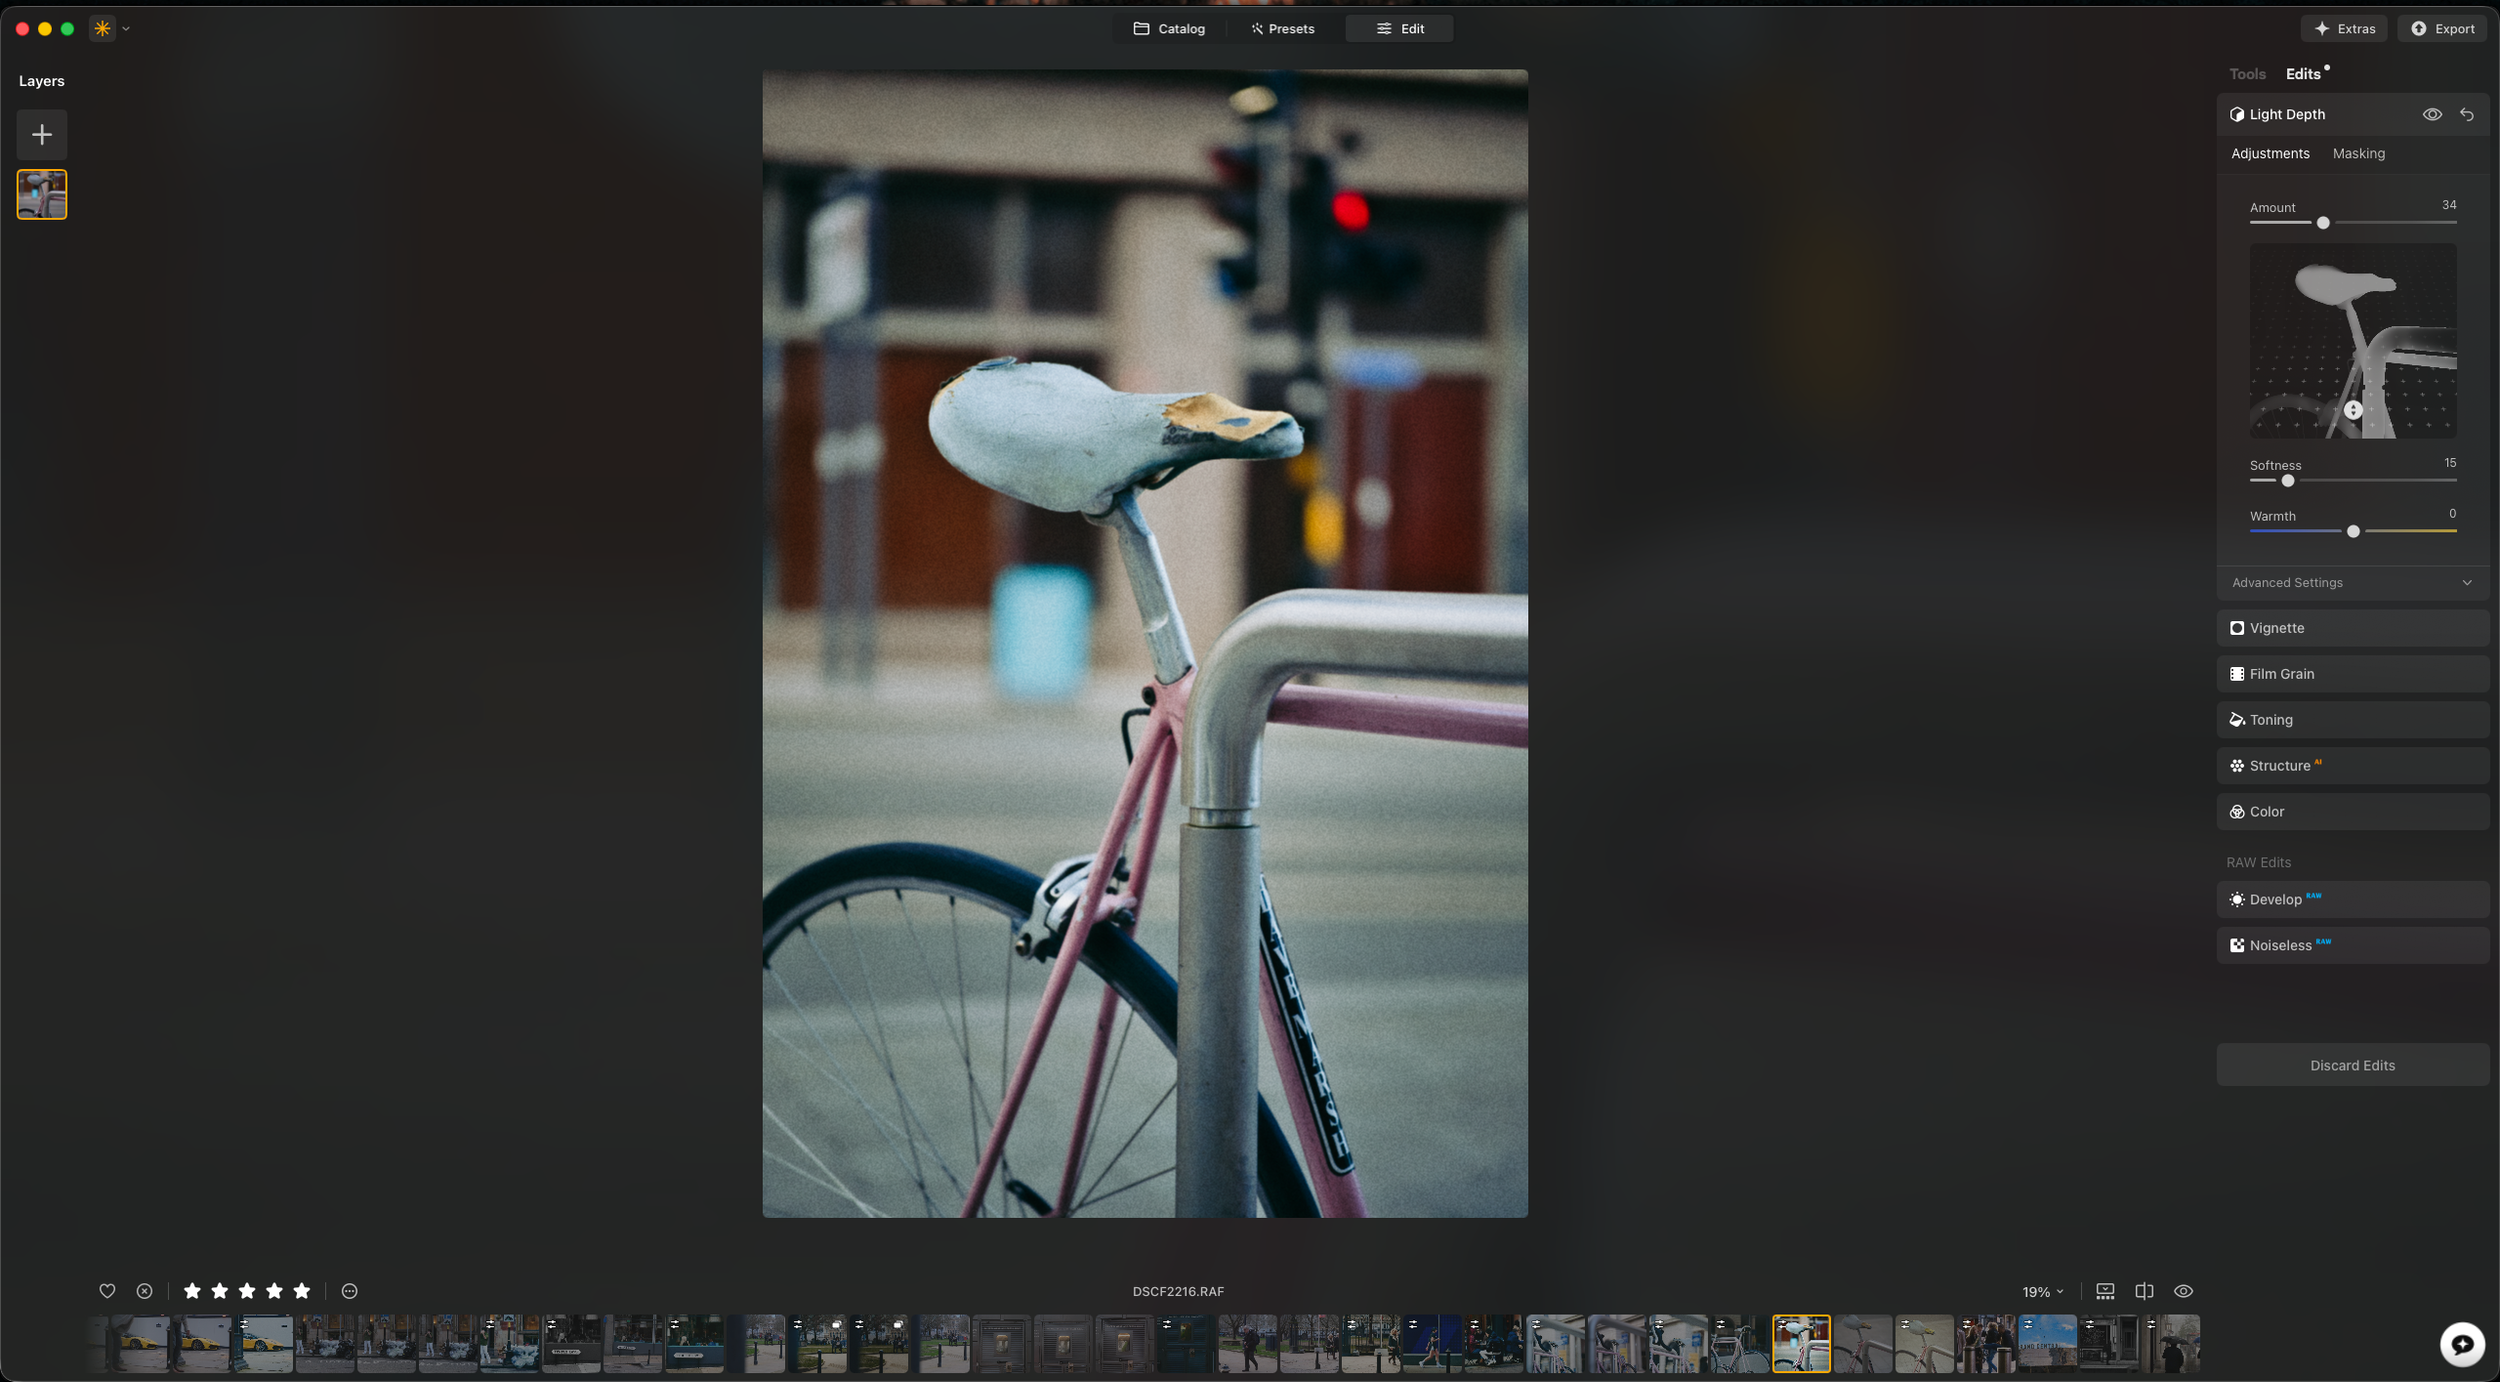
The final 10%
That’s how I think of this stage: small changes to the atmosphere of an image that already works.
Moving between Lightroom Classic and Luminar Neo
I use Luminar Neo as a plugin for Lightroom Classic:
Finish the base edit in Lightroom.
Right-click the photograph and choose Edit In, then Luminar Neo.
Carry the Lightroom adjustments over as a TIFF.
Make the finishing adjustments in Luminar Neo.
Return the finished image to the Lightroom catalogue.
That keeps the finished version alongside the rest of my photographs in Lightroom.
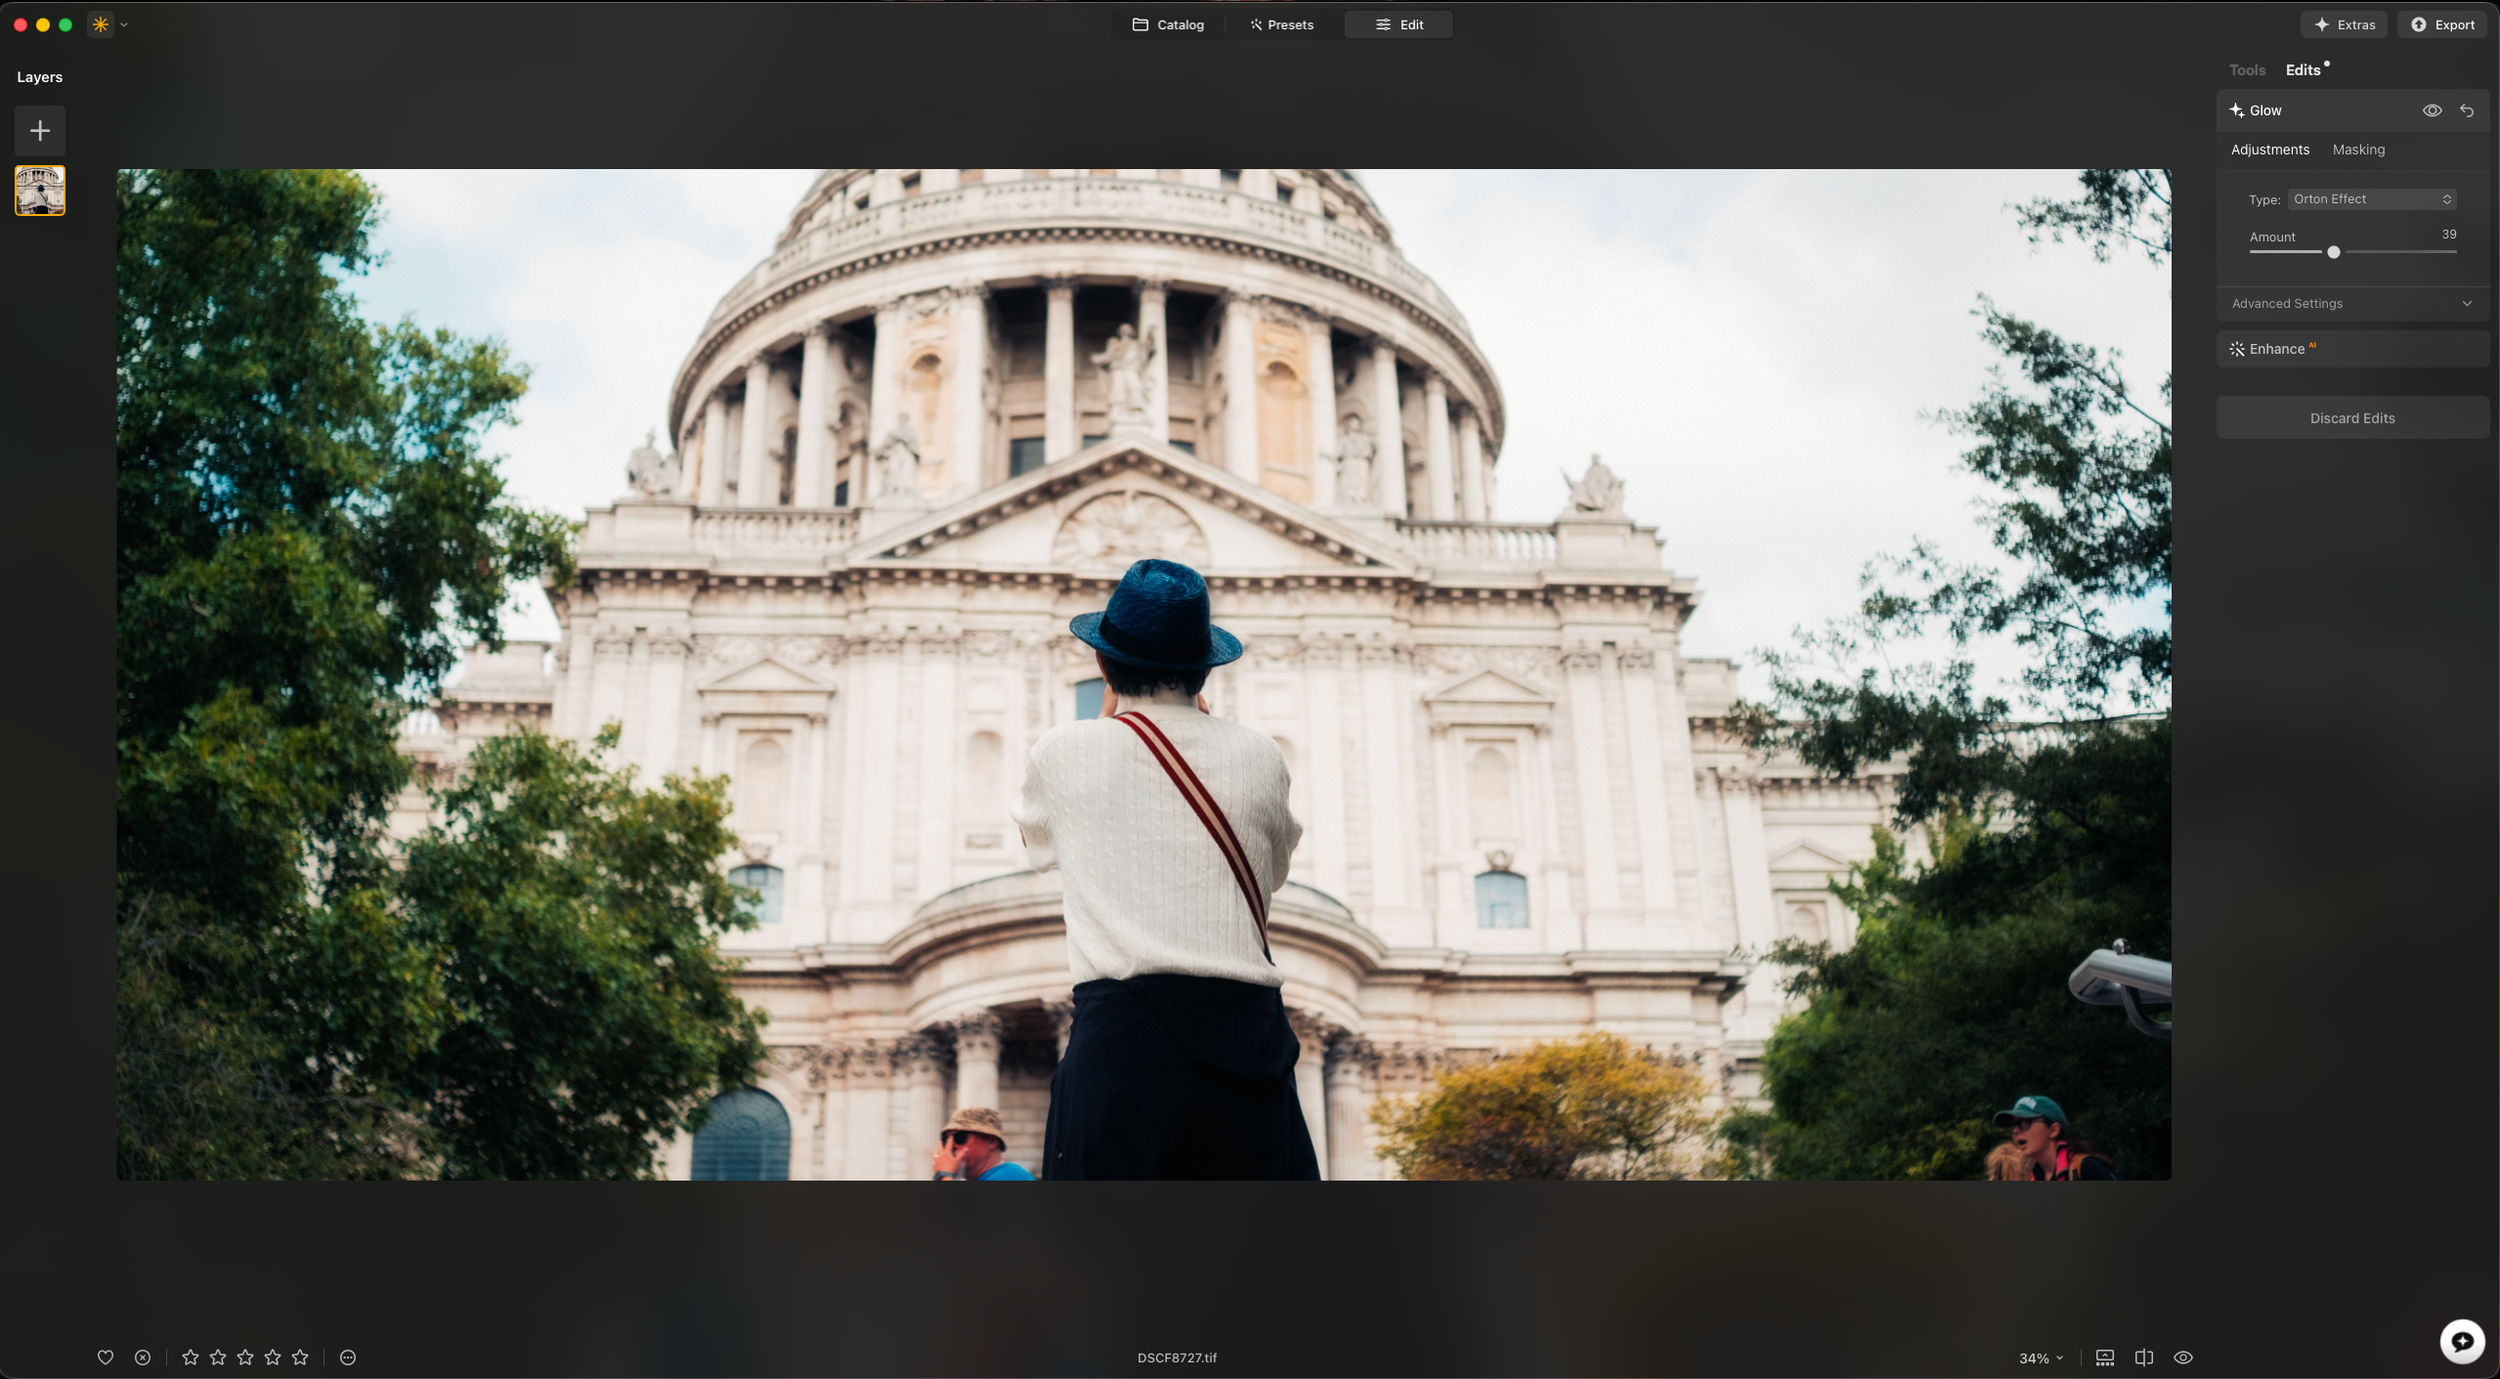
The adjustments I make
Most of the changes are small. I might adjust the shadows, soften the contrast, refine the colour or separate tones a little more.
I’m looking at what suits the photograph and stopping before the effect takes over.
The Orton Effect
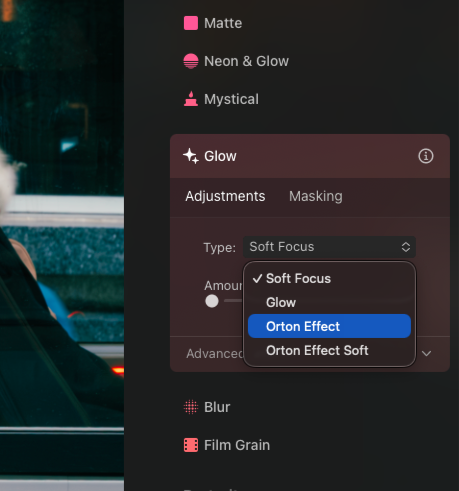
The Orton Effect is one of the tools I come back to most often. I like the soft glow it can add when used lightly.
You can build a similar effect in Photoshop with layers, blur and masking. In Luminar Neo, I find it quicker to try the effect and adjust its strength.
I keep it subtle, checking how it affects the subject and the background rather than adding the same amount to every photograph.


Why this workflow suits me
I could take the Lightroom edit further with masks and other adjustments. For these finishing effects, though, I find it quicker to move into Luminar Neo.
Keeping that stage separate also gives me a chance to look at the photograph again and decide whether it needs anything else.


Knowing when to stop
Once the base edit is done, I try to be selective about what I add. Luminar Neo gives me a quick way to try those finishing touches, but I still want the photograph to feel like the image I set out to make.
I compare the result with the Lightroom version and stop when I’m happy with it.
If you’re exploring film-inspired finishes, my Dehancer film emulation review looks at film profiles, grain, halation and bloom.
Check out Luminar Neo CODE: SNAPSSS10 get 10% OFF
The link above is an affiliate link. Check the current discount and terms at checkout.